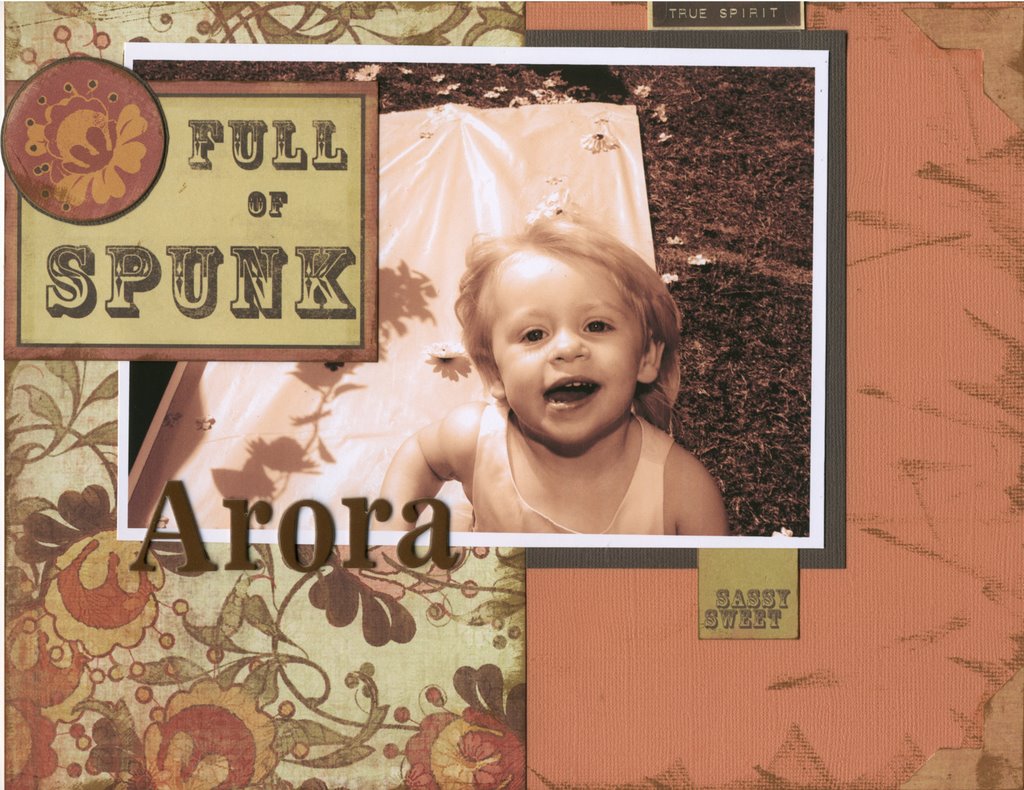
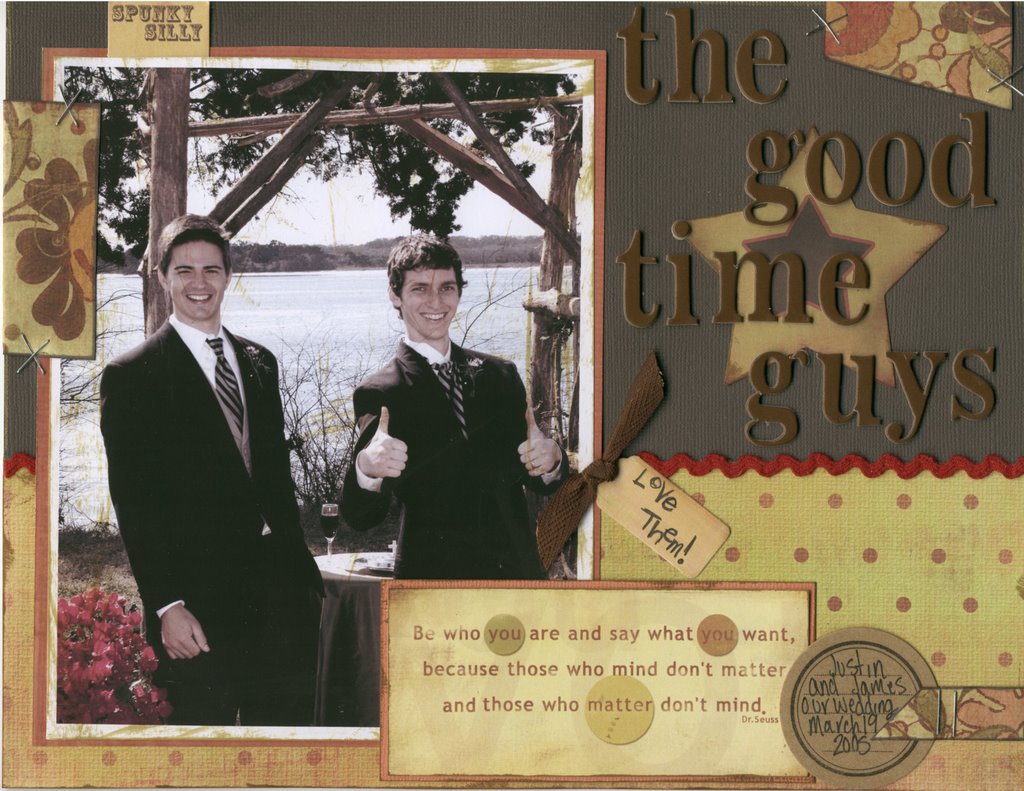
my very last bit
of dt work for inspiremecardkits.com . if you have never checked them out go now it really is a great site i'll miss it there.



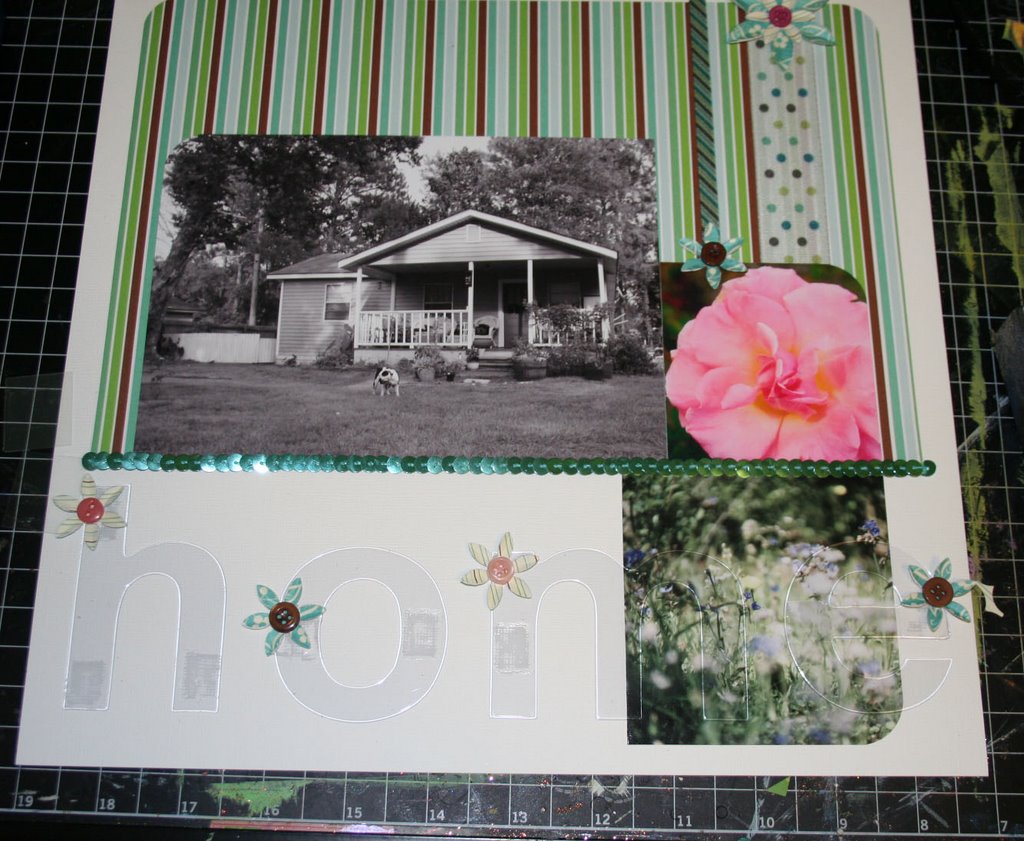
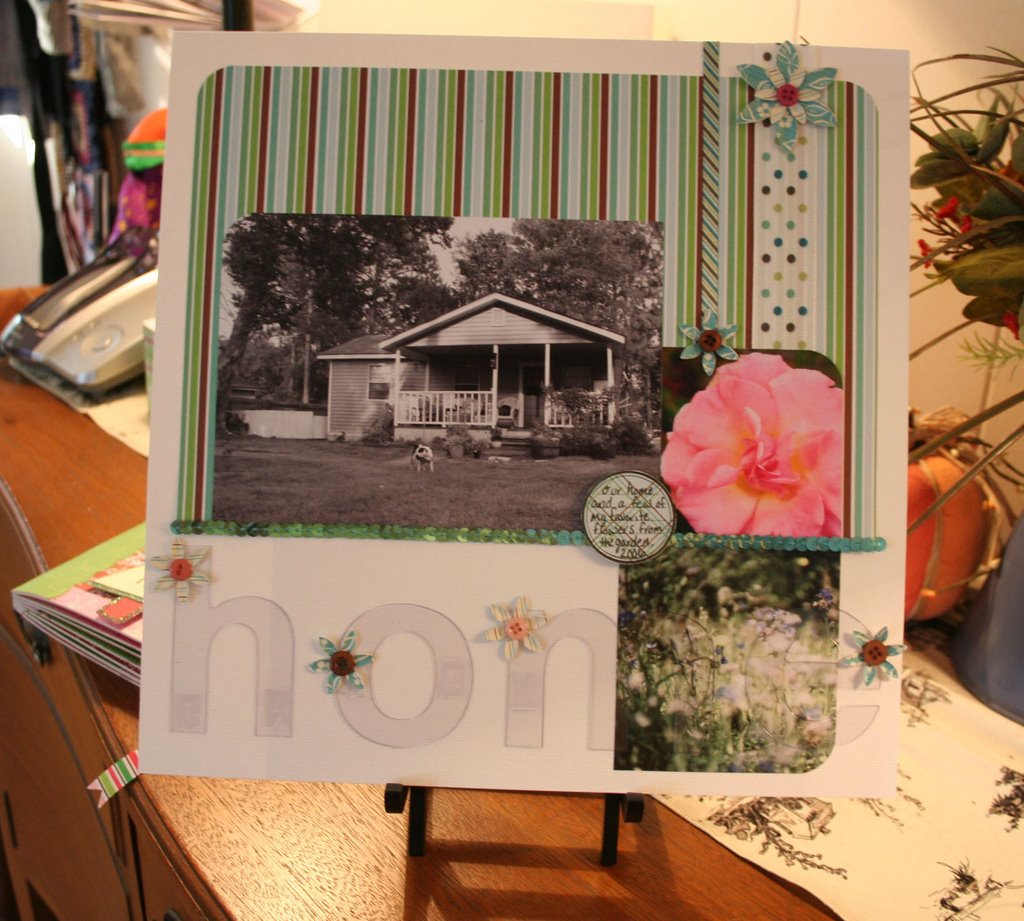
here it is start to finish: 
you will need glue, scissors, two sheets double sided pp, 1 sheet cardstock, shape punches, large size letters three corrdenating ribbons 3 pictures all differant sizes , buttons, a journaling stamp. and a corner punch.
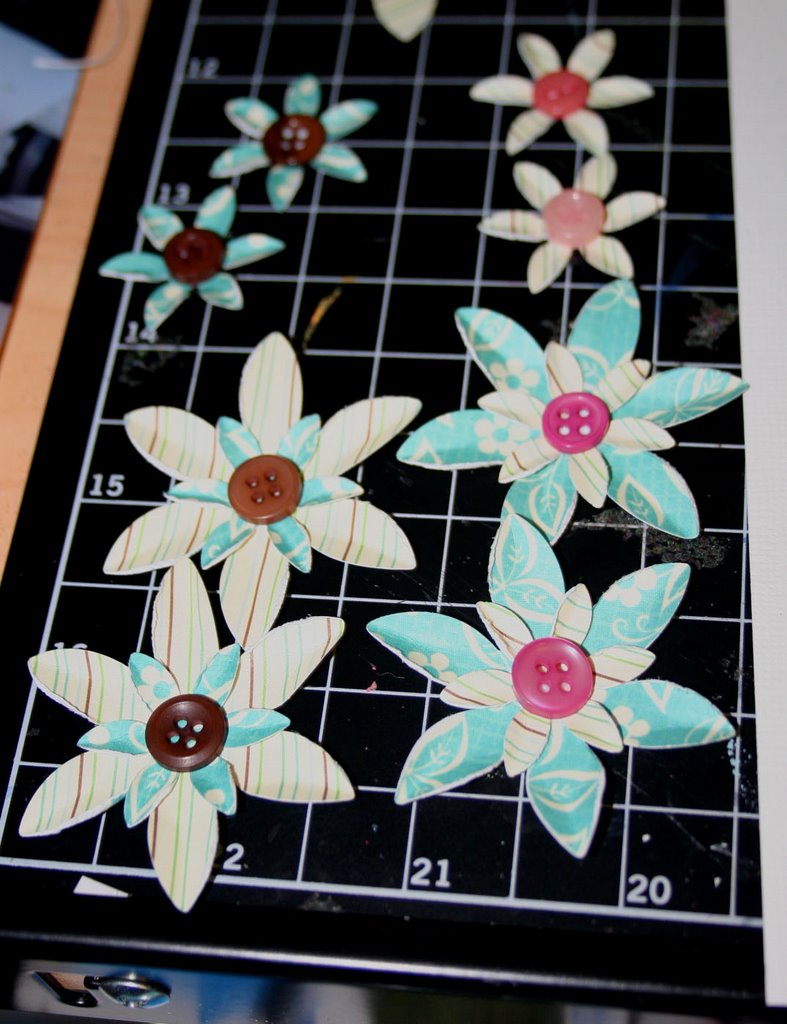
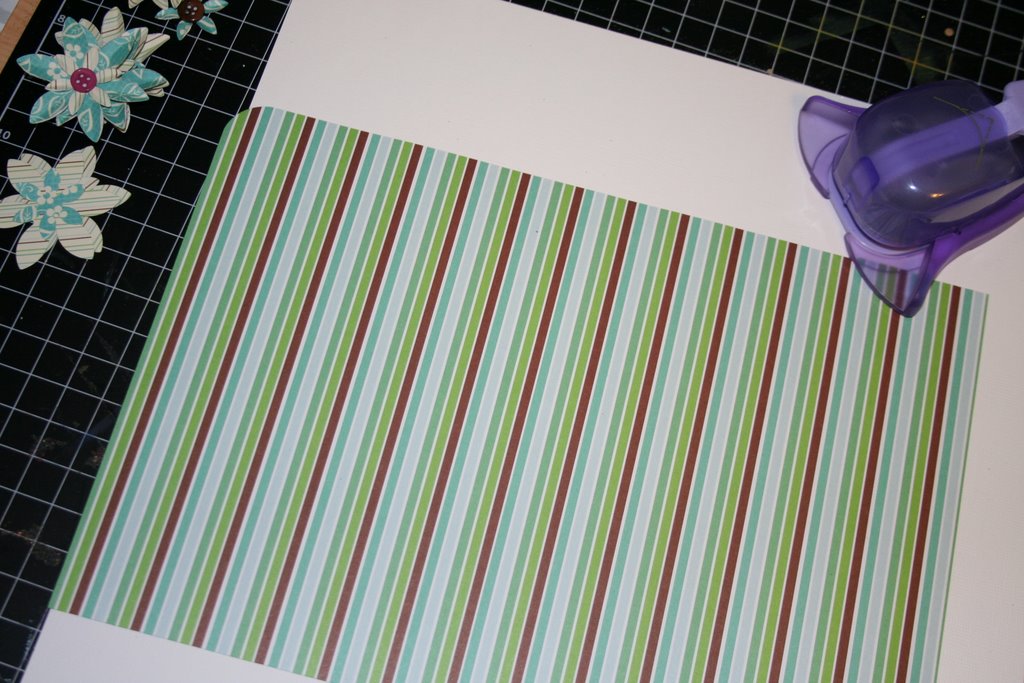
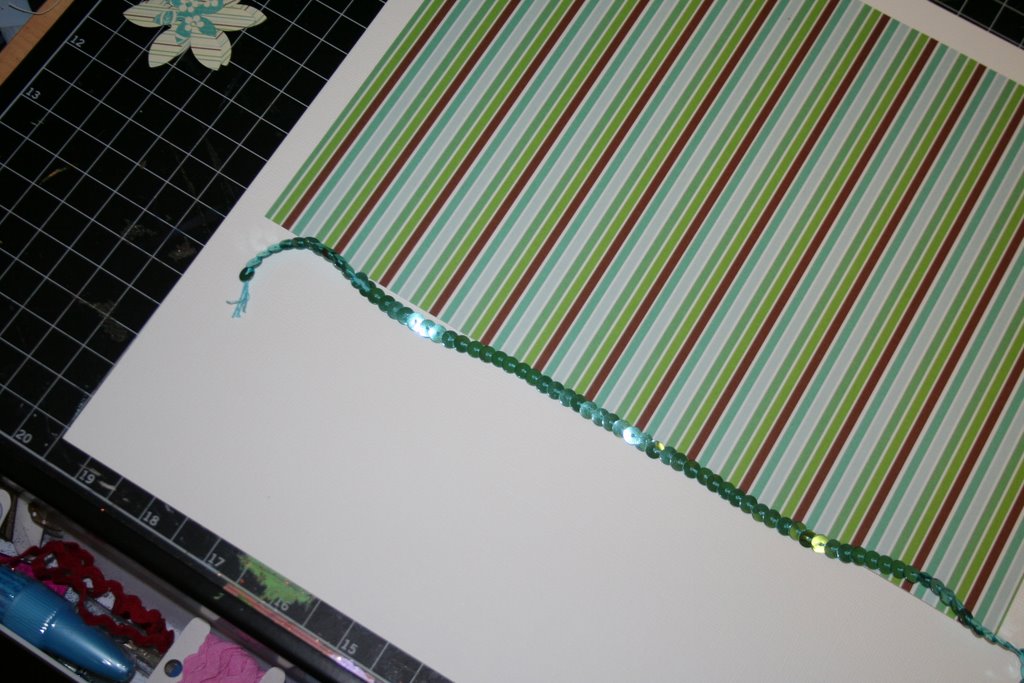
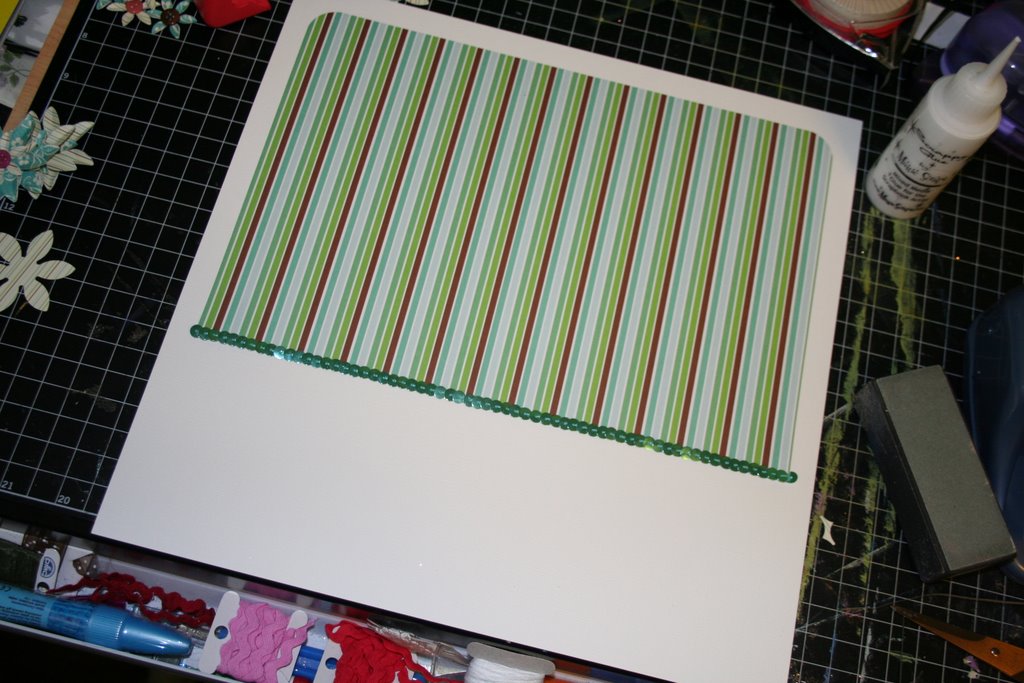
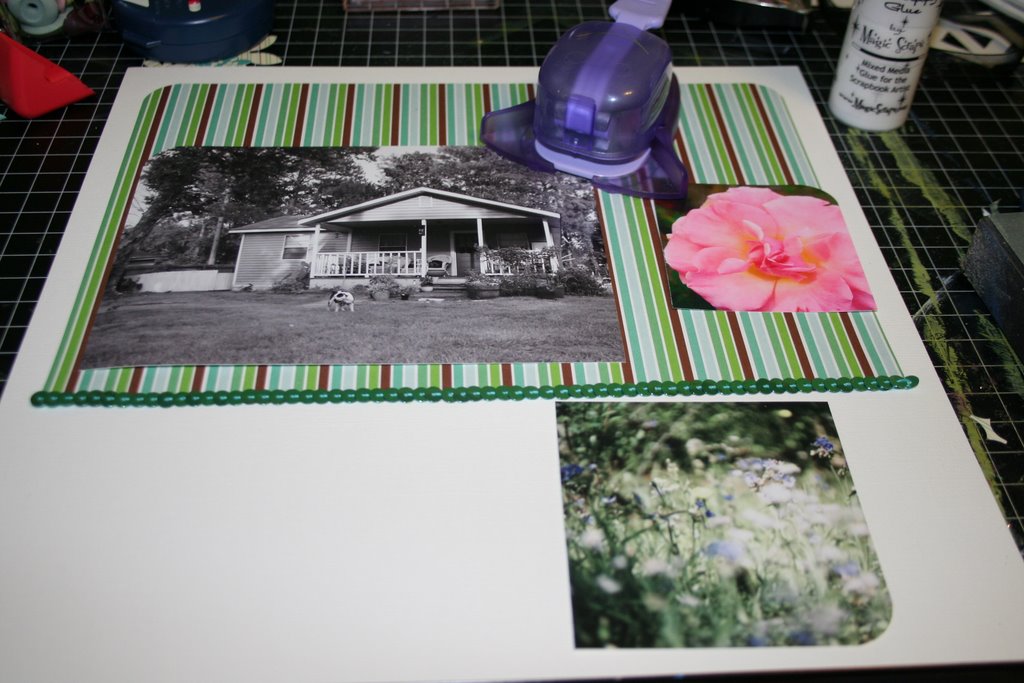
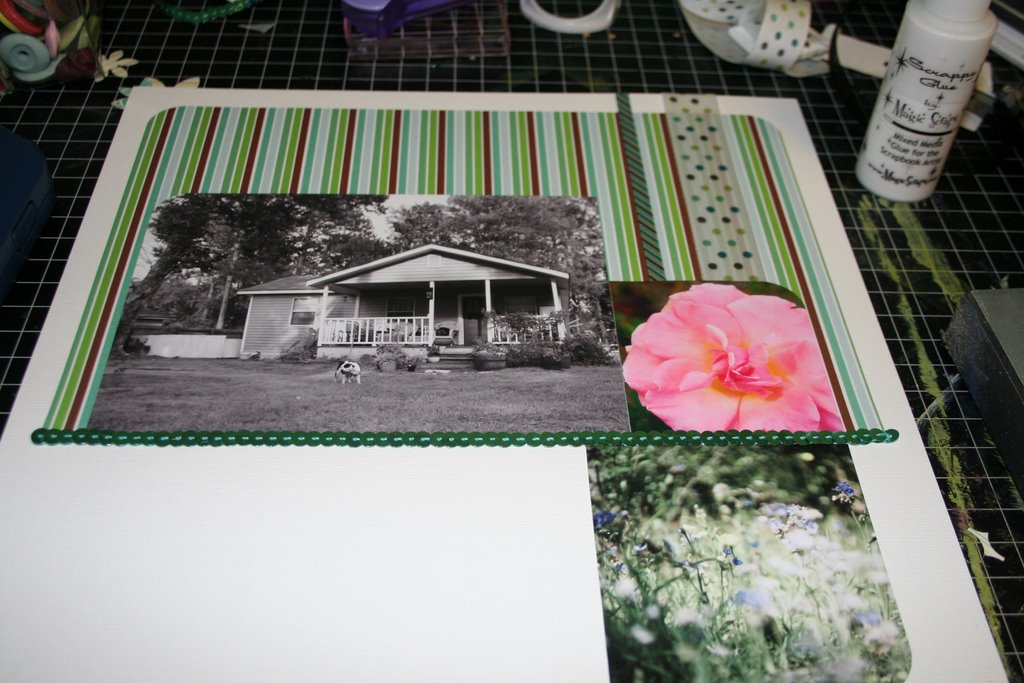
ok lets get started. step 1: punch out your shapes from one of your sheets of patterned paper. i pick my floral pattern for this because i was usinf a flower punch. i like to punch 6 of the large and 12 of the small. if i need more i'll punch them late and most likely i will not use this many, but i have them in casestep 2: sand the edges of your shapes and distress to your likeing. i used the ends of my scissors to scrap the edges on my flowers then held a pin to the center of each petal then folded in half. to my larger flowers i placed a second smaller flower. step 3: glue buttons to center of your shapes. for an added touch sew button on with embroderiy floss. step 4: step your shapes off to the side. we are done with them for now. get out you sheet of cardstock and your second sheet of patterned paper. trim you second sheet of patterned paper to 7 1/2 x 11 inches. round the corners on your trimmed paper only across the top. step 5: run one of your ribbons across the bottom of your pattern paper , this will be the end with unrounded corners. step 6: trim your photos and round the corners on the outside edge on your arangement . arange them in a rectangal . mine are trimed to 5x7, 3x2 3/4, 3 3/4x 3 3/4 inch. step 7: glue down the 5x7 and the 3 3/4x3 3/4 photos but not your 3x2 3/4. the bigger photos will be your guide line when it is time. step 8: run your other two ribbons going down the right side. they should go under your small photo. glue your last photo down over the ribbon. step 9: glue your large size letters going across the bottom under your pattern paper. i used hs ghost letters in lemomade stand font. i placed them going strait across even my bottom photo, but if you want you could just put then in the blank part of your cardstock. step 10: glue your shapes to embellish your title and ribbon. i glue one of my large flowers to the top of my largest ribbon and one small to the bottom of the smallest ribbon. then i glued one small flower to each of my letters in my title. step 11: last step!!!! on your scrap peice from your large piece of pattern paper stamp your journal stamp. cut it out from your pattern. journal and glue in about the center of your photo cluster. for mine i used the 7gypsys journaling stamp from last months card kit. i also glued it down with a pop dot for an add touch. and your all done!


i just want to invite everyone over to the cyber crop. dannie has some really great prizes and it going to run the whole month of november. all you have to do is join the message board and jump right in. we have mini challenges and weekly challenges going on. there are daily questions to up your posting points not to mention i have a web class planned for the 21st at 7:oo and i think iscrap(michelle) has one planned also. so please if you get the notion come join us we'd love to have you.
www.inspiremecardkits.com